Greenhouse Foundation Requirements
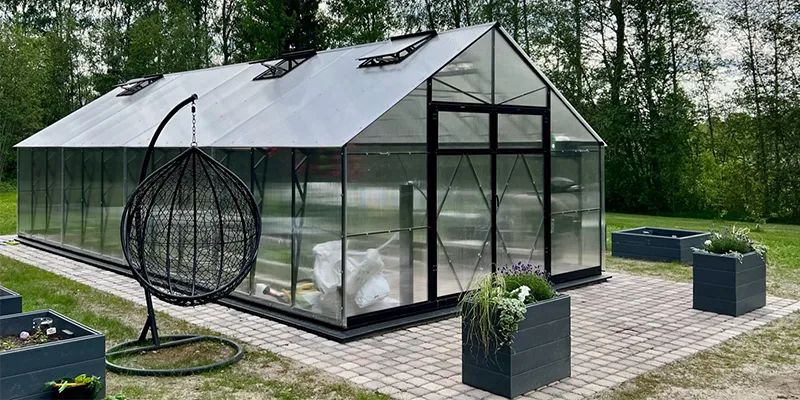
All Ecoslider greenhouses are always installed on a galvanized metal base frame, which includes mounting stakes for securing the greenhouse to the ground. This frame can be placed directly on level ground or lawn, or on a pre-prepared foundation.
If you prefer to prepare your own foundation, the best option is a reinforced concrete strip foundation poured along the perimeter (based on the external dimensions of the greenhouse), with wall thickness of 15 – 20 cm. As an alternative, we recommend a stone block foundation. Glass greenhouses, however, must be installed only on a concrete strip foundation.
Suitable Foundation Types for Greenhouses:
Galvanized Metal Base Frame (Standard Foundation)
- The easiest and most convenient option. Comes with long metal stakes that are hammered into the ground for secure anchoring.
- Time required: 2 – 3 hours
- Benefits: Quick and easy
Galvanized Metal Base Frame with Thermal Insulation
- Includes a special thermal insulating filler, resistant to temperature extremes and moisture. Improves the greenhouse’s overall insulation by 15 – 20%, allowing for earlier planting in spring and extending the season into late autumn. Significantly reduces the risk of plant damage from night frosts.
- Time required: 2 – 3 hours
- Benefits: Best value for money
Wooden Beam Foundation
- A budget-friendly option, mostly suitable for summer cottages. Visually less appealing than other types. Recommended material: larch beams, section 50x150 mm, treated with linseed oil. Avoid using chemically treated construction timber, as toxic preservatives may be absorbed by plant roots and contaminate crops.
- Time required: 2 – 3 hours
- Benefits: Budget option
Concrete Strip Foundation
- The best overall solution for greenhouse installation. Offers maximum durability, aesthetics, and functionality. However, it takes more time to prepare.
- Time required: 2 – 3 days
- Benefits: Durable, stylish, and reliable — top recommendation
Fibo Block Foundation
- A solid and attractive solution, slightly more affordable than concrete. Takes just as long to build but costs less and looks great.
- Time required: 2 – 3 days
- Benefits: Functional and attractive
Screw Piles
- A smart choice for windy areas. The galvanized base frame is bolted directly onto the screw piles. Screw piles can be purchased from us.
- Time required: 1 day
- Benefits: Excellent stability in strong winds
Important Note:
We recommend placing a strip of roofing felt )between the metal base frame and any surface — be it soil, lawn, concrete, or stone — along the entire perimeter (not included)
If Installing the Greenhouse on Soil Yourself:
-
Optionally, remove the top 5 – 15 cm layer of soil and level the area around the perimeter:
- Fill the base with crushed stone at the bottom, then sand on top.
- Compact the crushed stone and sand thoroughly.
- We recommend placing a strip of roofing felt or similar material between the compacted soil and the base frame (not included). - The greenhouse can also be installed directly on unprepared ground.
- Set the base frame level (*).
- Check the diagonal measurements of the frame to ensure proper alignment (*) — distances must match (according to the instruction manual).
- Once assembled, ensure the greenhouse is securely fixed to the ground as per the instructions (*).
- After installation, fill any gaps between the frame and soil with earth or seal them in another way (*).
(*) These steps are mandatory for safe and proper installation.